
RESOURCES
To add a resource different visualization sets need to be created in order to represent its different states of storage transportation or use:
- Heaps
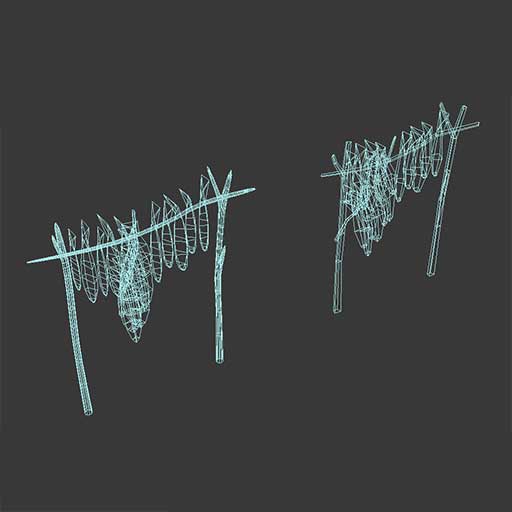
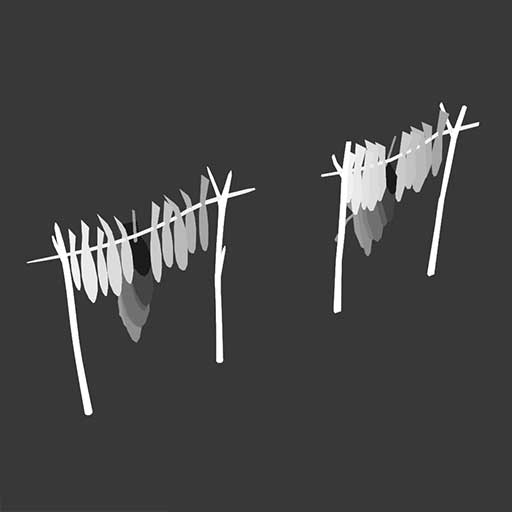
Heaps represent groupings of natural resources that are gatherable as they appear in nature, like a group of branches or a bunch of stones, or many apples under an apple tree.
A Heap uses only one object containing all the visual elements.
Heaps can be up o 10x10 square meters visually to represent a spread of resources in that area.
As they use vertex SPLIT when being gathered heaps elements will disappear one by one.
If configured that way heaps can also insert elements again with time until replenished.
Vertex color information: COLOR or WIND + SPLIT
Textures: C, N, T( optional ), O
Raw sticks resource heap vertex color channel A as SPLIT.

- Piles
Technically piles are almost the same as heaps, but representing the same resource once it has been gathered and piled up by humans in the ground.
Piles can have a different number of elements than heaps.
Yet planned to be improved to give support to other sizes in the future, currently AC piles can occupy only 1 square meter in the game logic.
The model itself can be bigger to improve visualization at the cost of clipping occurring with other adjacent piles, humans or elements.
There are 2 ways that piles can represent their visualization from 0 elements to fully loaded:
- PUSH - The model will be buried under the ground when the pile is empty and pushed up until the bottom reach the ground when fully loaded.
This is the preferred method for mountains of sand, dirt, straw and so on…
Vertex color information: COLOR or WIND + AO
Textures: C, N, T( optional ), O - SPLIT - When the resource has countable elements or if just preferred vertex SPLIT can be used:
Vertex color information: COLOR or WIND + SPLIT
Textures: C, N, T( optional ), O
- PUSH - The model will be buried under the ground when the pile is empty and pushed up until the bottom reach the ground when fully loaded.
LOD0 and LOD1 vertex color channel RGB as WIND

LOD0 and LOD1 vertex color channel A as SPLIT
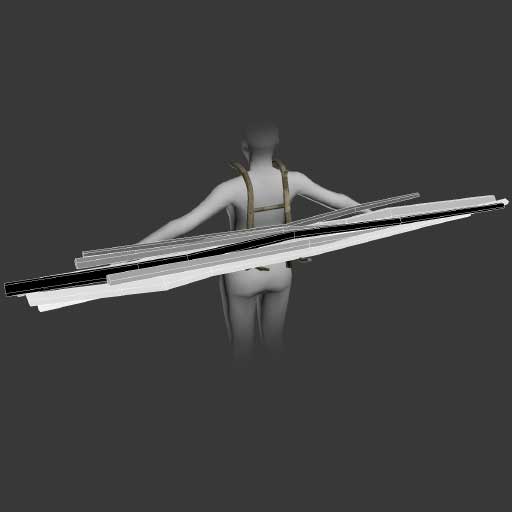
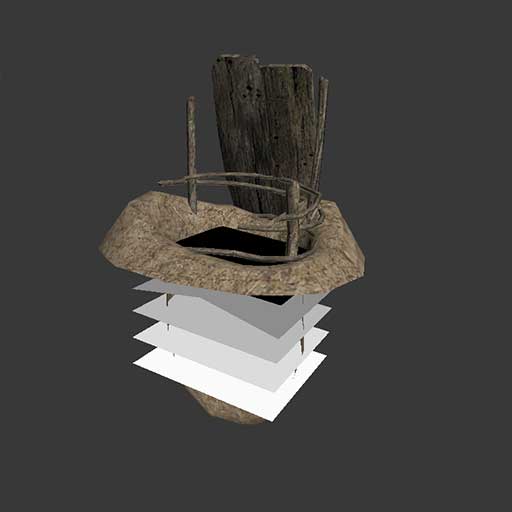
- Loads
When a resource is stored or carried while being visible -but not in the form of piles- we use LOADS.
A different LOAD can exist for every visible way the resource can be stored or moved around, for instance, when is being carried by an actor or when is stored in a building that, while allowing the resource to be seen, it needs the model to have a particular shape.
Vertex color information: COLOR + SPLIT
Textures: C, N, T( optional ), O
When a LOAD is being carried by an skinned animated actor, using a PACK or not, it needs to be attached in a rigid way to a particular existing bone in that actor, or to a dedicated bone Load that already exists, or even be fully skinned if deformation is needed.
A Load of sticks with the vertex SPLIT visualization mounted on a PACK.
A pit storage building LOAD using vertex SPLIT. This one could also be modeled using PUSH.
-
Packs
Packs are visual elements that hold a resource while being carried by an actor, like a basket, backpack or bag.
Packs are not specifically part of the resource, as they can be shared between many resources, this way a basket PACK can be visually used to carry fish, apples, etc…
For a resource to be able to be carried with a pack a LOAD for that resource-pack combination needs to be created.
The PACK and the LOAD both will be automatically linked to a special bone called “load”, properly placed by the PACK animations set, in a way that it does not need to be skinned so the PACK and the LOAD need to have the pivot in the same place and oriented in the same way.
But as an alternative method a PACK and its LOADs can also be fully skinned if deformation is needed. But this is usually not the case.
Vertex color information: COLOR( optional ) + AO( optional )
Textures: C, N, T( optional ), O
Note:
To properly represent an actor carrying a PACK, a set of animations supporting all actions that can be performed while carrying that PACK need to be created.
AC will be supporting several kind of standard packs with their animations sets that can be used by resources just creating a suitable LOAD for that pack.
Variations of the same PACK can be created to reuse existing animations, like different kind of baskets, always ensuring that the content LOADs are compatible. -
Tool
Some resources can be visualized as tools when being used, like axes, shields, bows, or a piece of meat while is being eaten.
A resource that can be used as a TOOL has it’s own visualization for this purpose.
The TOOL model will be automatically linked to a special bone for tools in a way that it does not need to be skinned, as tools are supposed to be rigid.
The human skeleton supports up to 2 bone tools, each one usually in each hand.
Vertex color information: COLOR + AO( optional and usually backed in the O texture )
Textures: C, N, T( optional ), O
To model a TOOL the only important factor is to know where to set the pivot and it’s orientation.:
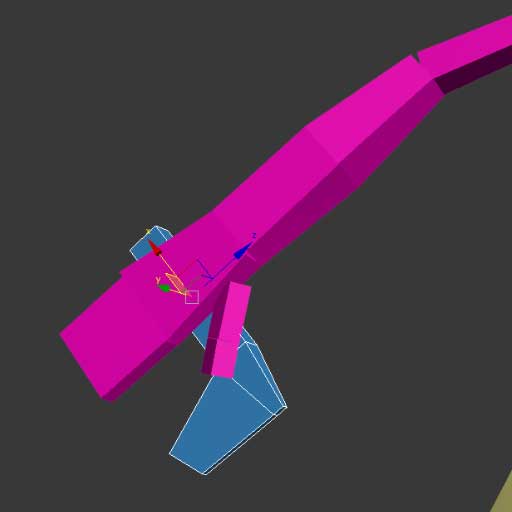
The right hand tool bone. The tool model will be attached to this bone:
Using a resource as a TOOL needs an animation to support actions that can be done with that resource. AC will be incorporating animations for common tools that can be reused. To introduce new tools that can perform AC supported actions but need special animations, those animations need to be created an incorporated to the resource.
-
Notes
For HEAPS, PILES, PACKS, LOADS and TOOLS AC supports variety.
For instance, if a pile appears to be too much repetitive in game, a different visual pile for that resource can be created and incorporated.
Any number of variations is supported an they will be used randomly in game, but this use is recommended only where necessary for efficiency.
HEAPS, PILES, PACKS, LOADS and TOOLS support LODs:
Maximum supported LODS are 3 levels, but using only LOD0 and LOD1 is recommended when possible to save resources and draw calls:- LOD0:
The model as it’s mean to be seen very very close. - LOD1:
The model to be seen far away
- LOD0: